
ITEMS £0.00
Browse by Brand
Atomos
Benro
Billingham
Binoculars and Telescopes
BlackRapid
Canon
Celestron
DJI Drones
DJI Osmo
Fujifilm GFX
Fujifilm X Series
Gitzo
GPO
Hahnel
Insta360
Joby
Lee Filters
Leica
Leica Sport Optics
Leofoto
LowePro
MagMod
Manfrotto
Maplin
Mindshift
NatureCams
Nikon
Olympus
Panasonic
Peak Design
Rode
Rotolight
Samyang
Sigma
Sony
Tamron
Tenba
thinkTANK
Vanguard
Zeiss Lenses
Zhiyun
Understanding The Exposure Triangle: Aperture, Shutter Speed, ISO
In the realm of photography, capturing the perfect image is an art form mastered by understanding the intricacies of light and its manipulation. At the heart of this mastery lies the exposure triangle – a fundamental concept that every aspiring photographer must grasp to unlock their creative potential. In this blog, we embark on a journey to unravel the mysteries of the exposure triangle, delving deep into its three pillars: aperture, shutter speed, and ISO. By the end of this exploration, you’ll not only understand these elements but also wield them with confidence to capture stunning photographs.
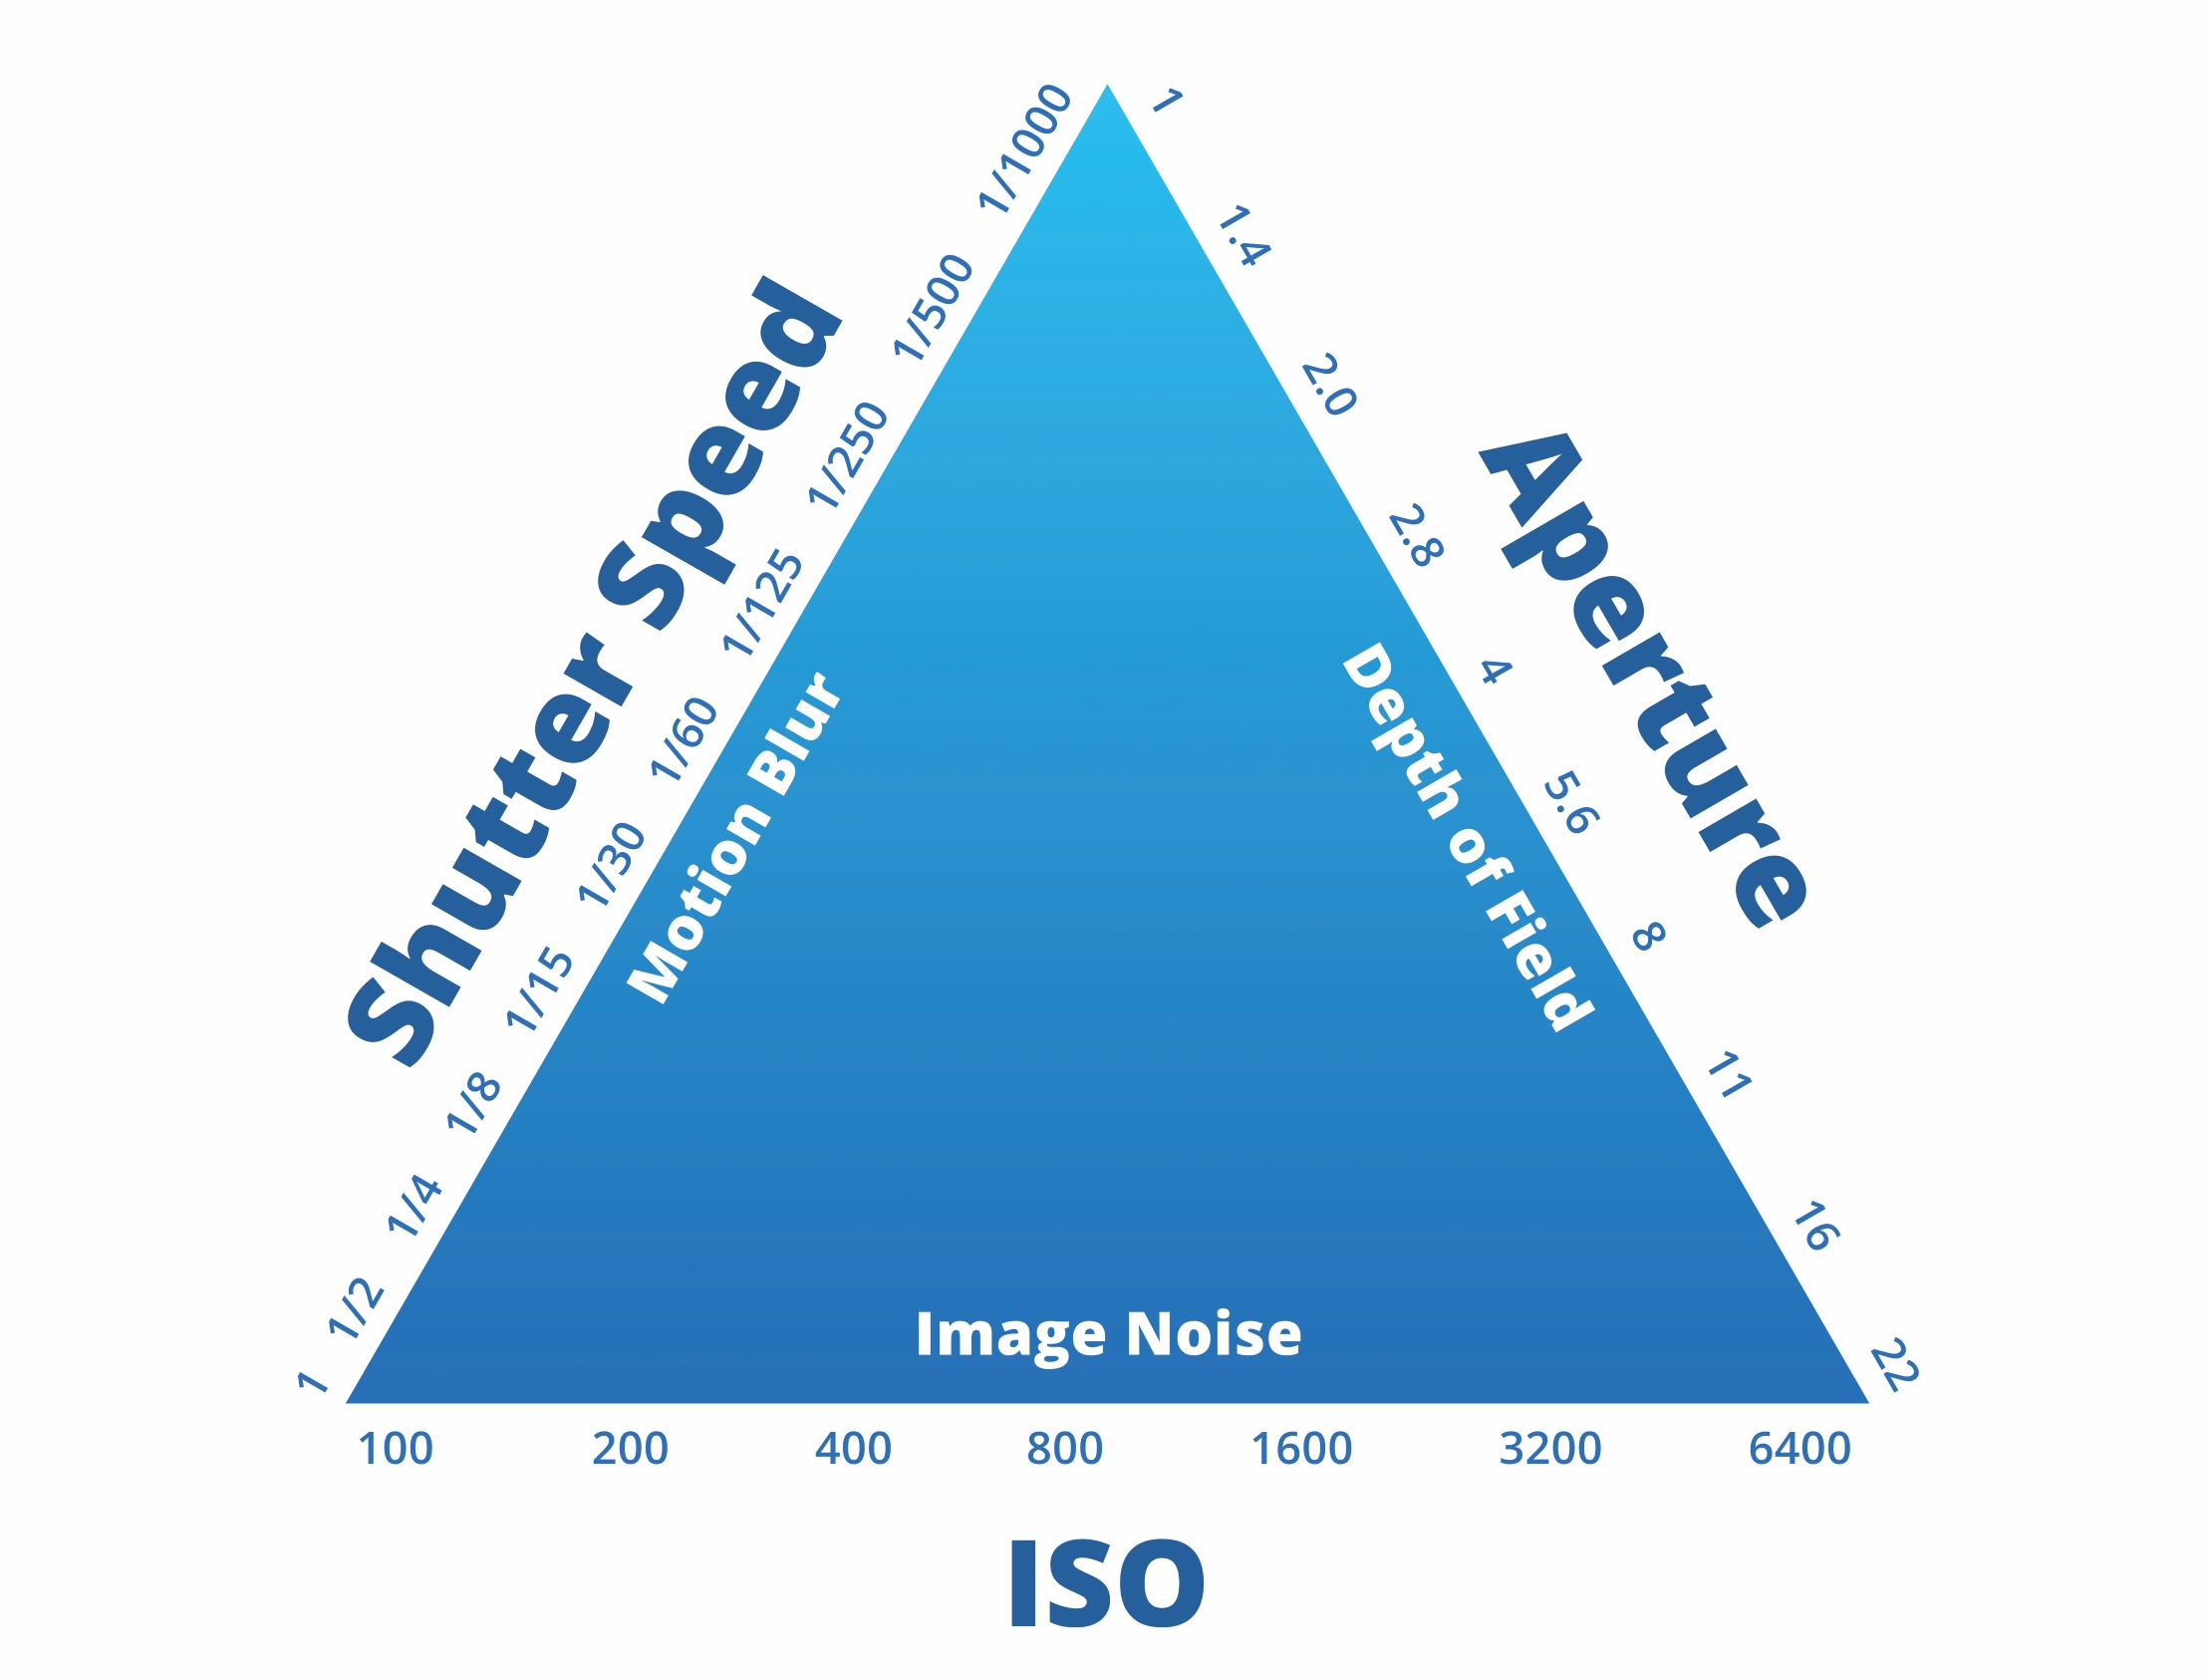
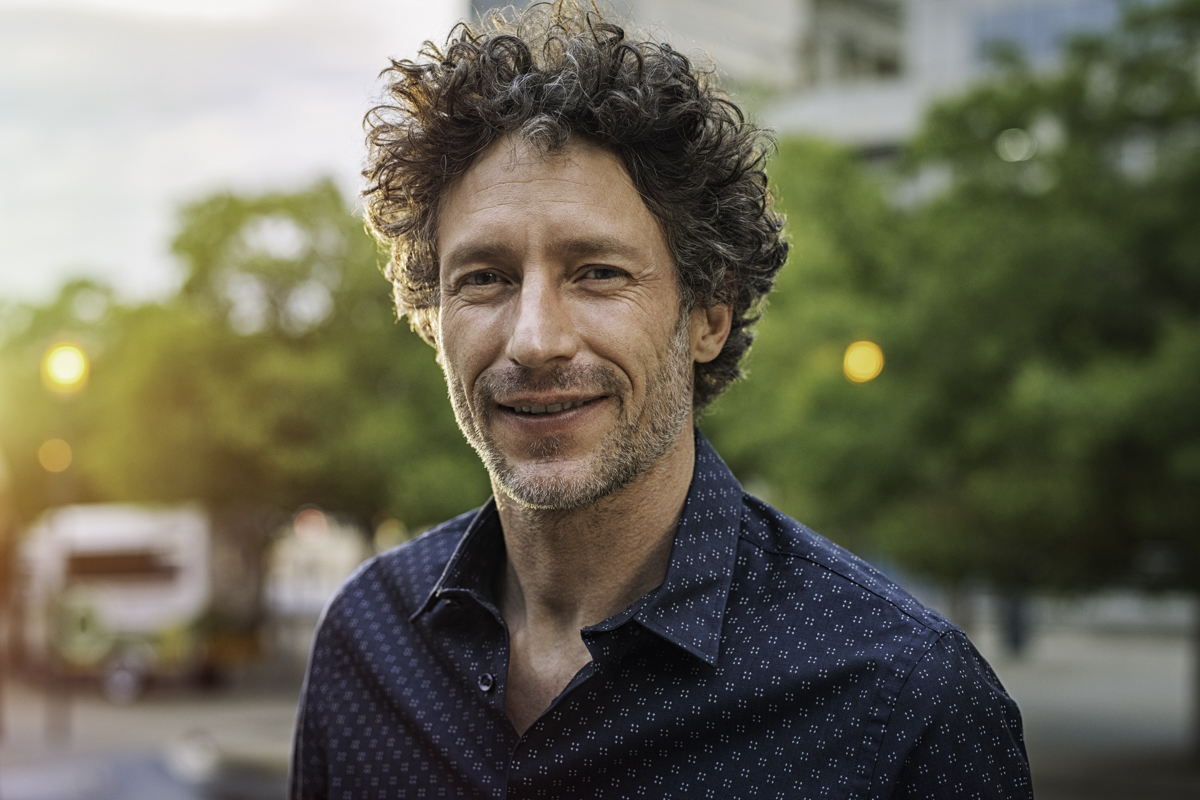
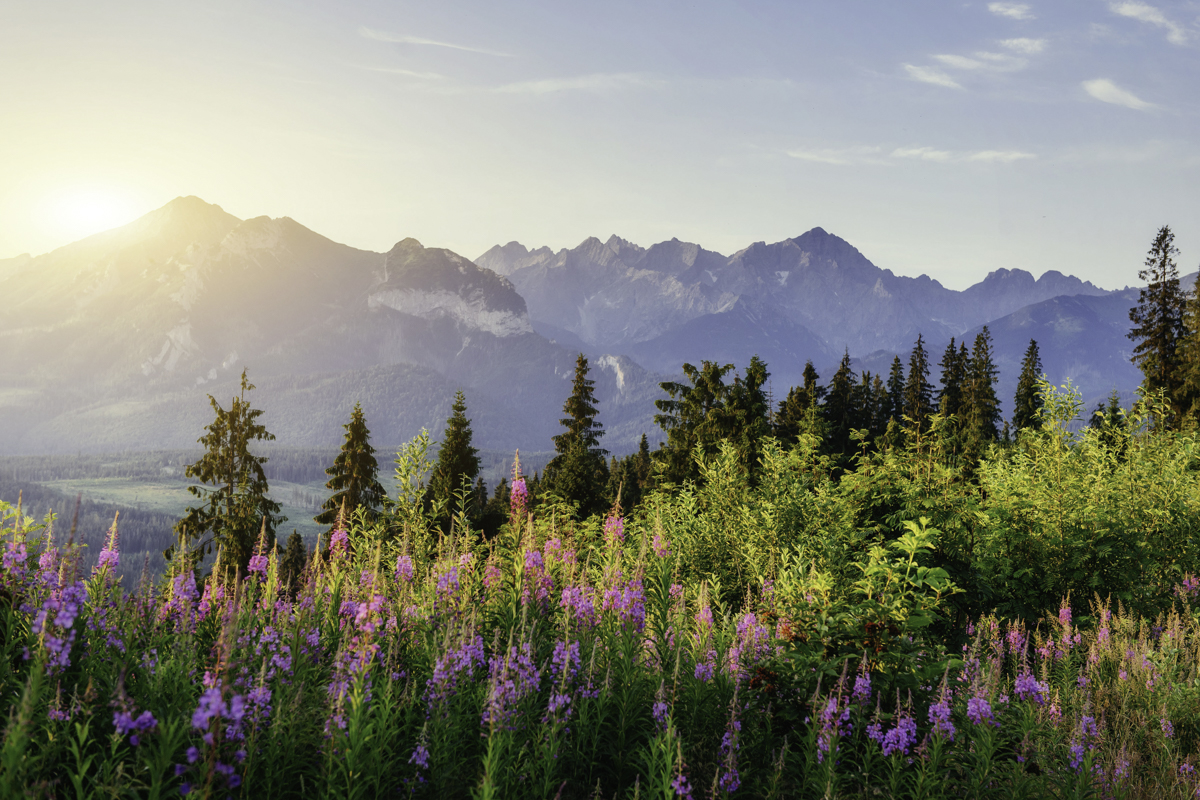
Let’s start our journey into photography by exploring aperture – the fundamental control for depth of field and light in your images. In simple terms, aperture refers to the adjustable opening in your camera’s lens, much like the pupil of an eye, which expands or contracts to allow different amounts of light to reach the camera’s sensor. This control over light isn’t just practical; it’s a powerful creative tool that influences what areas of your image appear sharp or softly blurred, allowing you to draw attention to specific parts of your scene and craft the visual impact you desire.



Unraveling Shutter Speed: Freezing or Blurring Motion
The next stop in our journey through the exposure triangle is shutter speed – the essential control for capturing motion in your photographs. Think of shutter speed as the gatekeeper to your camera’s sensor, controlling how long light is allowed to hit it. This isn’t just about brightness; it’s a critical factor that affects how movement is rendered in your images. When you understand how to control shutter speed, you can decide whether to freeze a moment in sharp clarity or to capture the fluidity of motion in a blur, creating a sense of energy or stillness depending on your artistic vision.


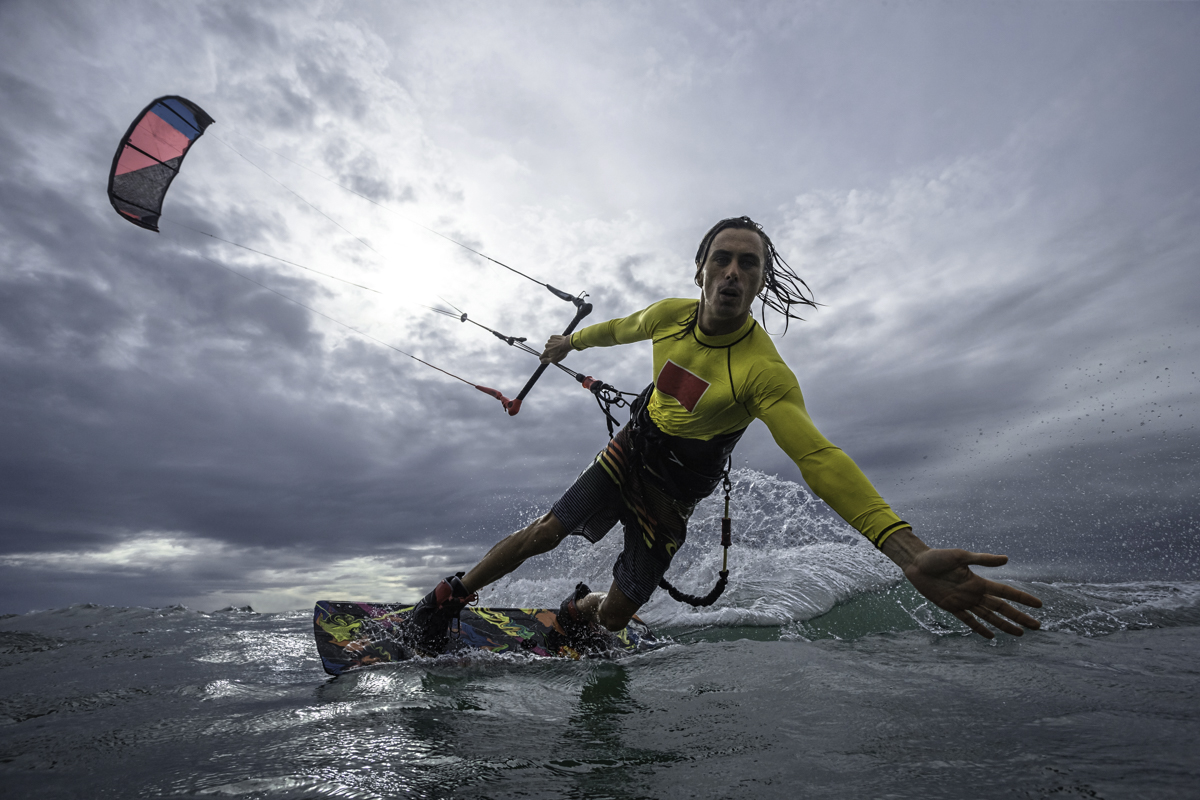
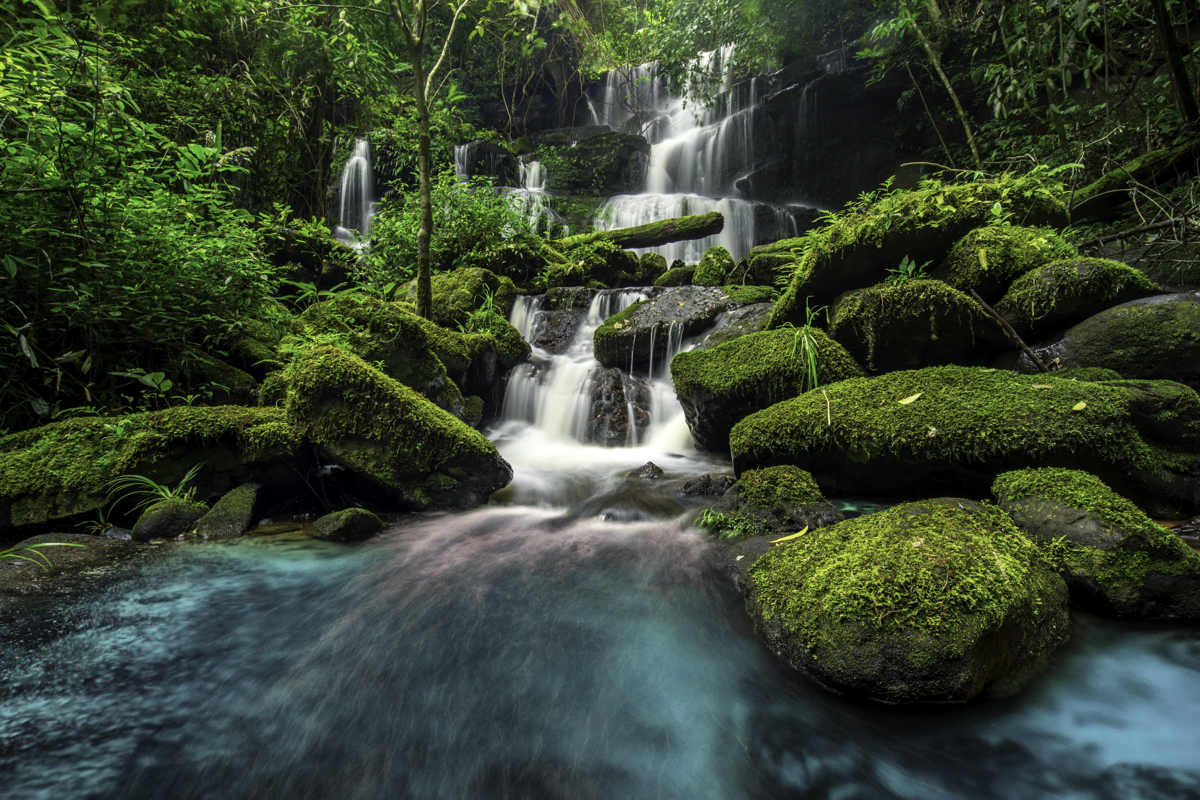
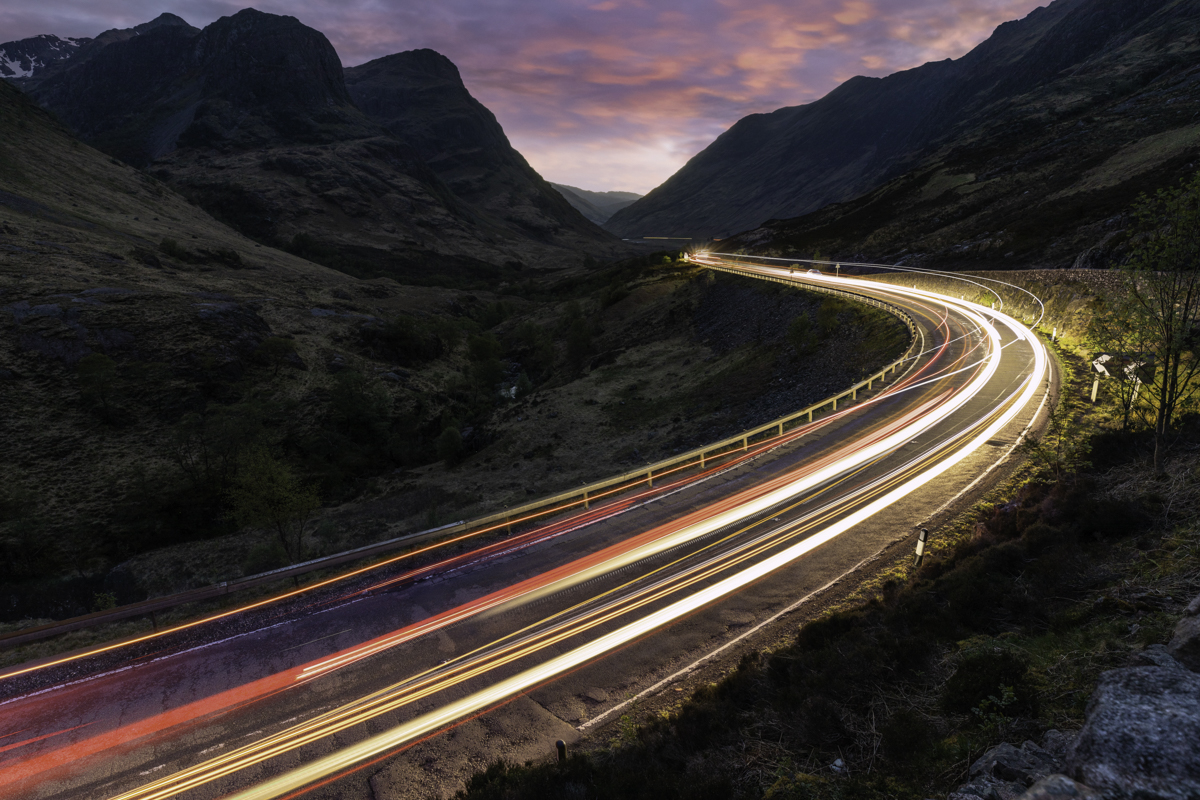
Keep in mind that the slower the shutter speed, the more sensitive your camera becomes to any movement. Even slight hand movements can cause your entire image to blur. To avoid unintended blur, especially with shutter speeds slower than 1/60, it’s usually a good idea to use a tripod or stabilise your camera on a firm surface. This way, you can create motion in the parts of your image you want while keeping the rest sharp and steady.
Decoding ISO: Amplifying Light Sensitivity
Our final destination in the exposure triangle is ISO – a setting that controls the sensitivity of your camera’s sensor to light. Think of ISO as a volume control on a stereo system. Just as turning up the volume makes sound louder, increasing the ISO makes your camera more sensitive to light. This adjustment is particularly useful when you’re faced with challenging lighting conditions, from bright, sunny days to dimly lit interiors or evening scenes. Mastering ISO allows you to adapt to almost any light environment without sacrificing exposure, giving you the flexibility to shoot in a variety of settings and conditions.

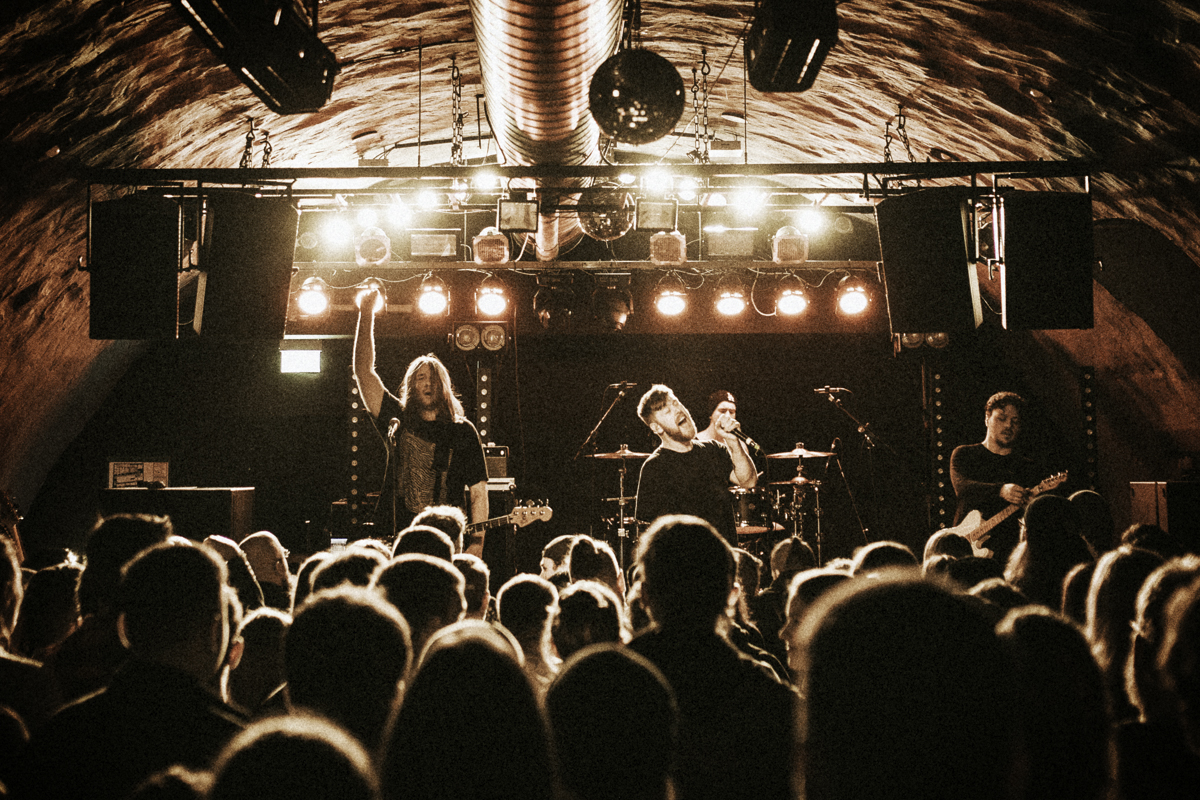
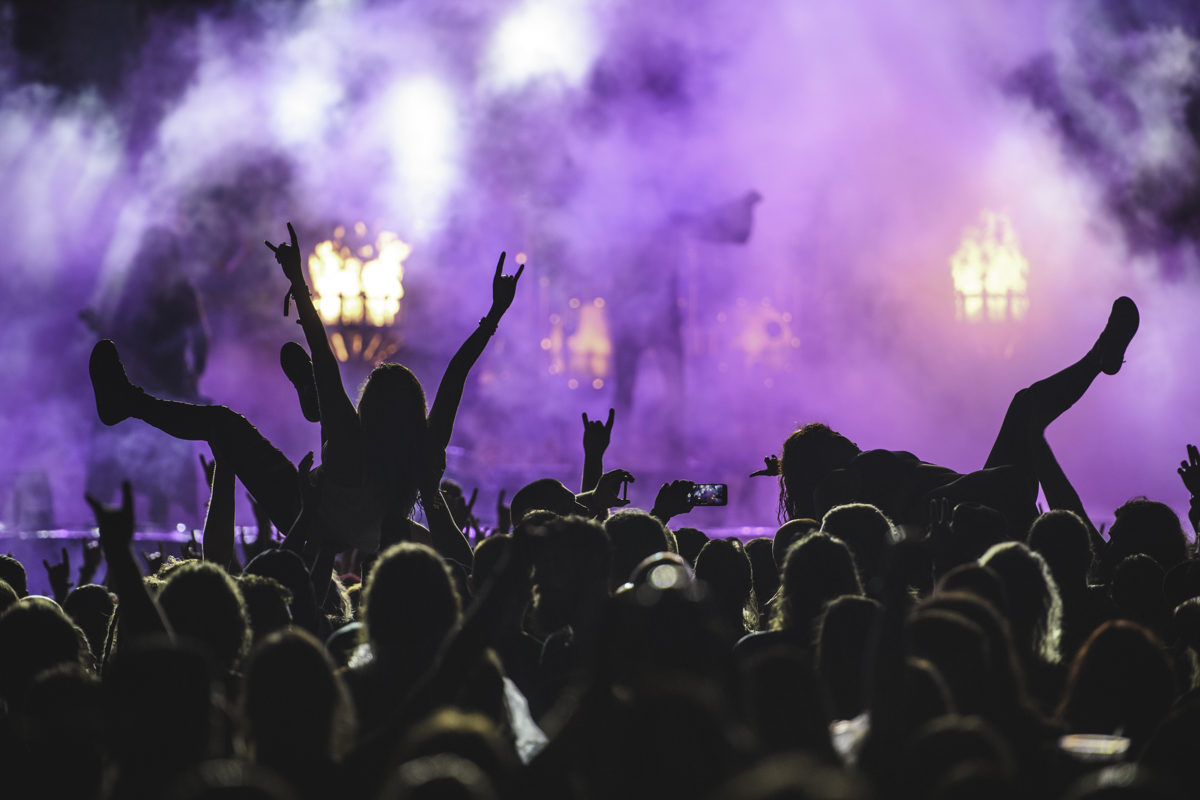
As you move to higher ISO settings, such as 800, 1600, or even 3200, your camera’s sensor becomes much more sensitive to light, allowing you to shoot in low-light conditions without needing to slow down the shutter speed or open the aperture further. High ISO settings are incredibly useful in situations where light is limited, like shooting indoors without a flash, capturing night-time street scenes, or photographing concerts and events where you need a faster shutter speed to prevent motion blur. By increasing the ISO, you gain the flexibility to shoot in places and times that might otherwise be too dark.
Harmonising the Triangle: Balancing Elements for Perfect Exposure
As we conclude our journey through the exposure triangle, it’s essential to grasp that aperture, shutter speed, and ISO don’t work in isolation; they are interdependent, forming a delicate balance that shapes the exposure of your photo. Think of them as partners in a dance, each affecting the others to create a harmonious exposure. Adjusting one setting, like increasing ISO to boost light sensitivity, might necessitate tweaking shutter speed or aperture to maintain your desired balance between clarity, brightness, and depth.
Consider a scenario where you’re photographing a fast-moving subject in low light. A fast shutter speed might be necessary to freeze motion, but it also reduces the light reaching the sensor. To compensate, you could widen the aperture (a lower f-stop) to let in more light or increase the ISO. Each adjustment impacts the image differently: a wider aperture reduces depth of field, while a higher ISO can introduce noise. The art of photography lies in balancing these choices to achieve your desired effect.
A great way to learn this balance is through hands-on experimentation. Try photographing the same subject in different lighting conditions, adjusting only one setting at a time. Observe how each adjustment impacts the exposure and overall look, gradually bringing in the other two elements to achieve balance. This process will help you develop an intuition for how these elements work together.
Mastering the exposure triangle gives you creative control, allowing you to manipulate light, depth, and motion in your images. For example, a wide aperture and fast shutter speed can create an intimate portrait with a soft background, while a narrow aperture and slower shutter speed in low light can add depth and texture. Each setting gives you a tool to enhance your visual storytelling.
With practice, balancing the exposure triangle becomes second nature, giving you the flexibility to adapt to any lighting situation and translate your vision into compelling photographs. Embrace the exposure triangle, experiment, and watch your photography grow as you capture the world with intention and creativity.


